Have you ever marveled at the lengths people go to customize their hobbies? Be it cars, computers, or anything else, I’ve always been content with run-of-the-mill products. That was until my son discovered the world of BMX.
We quickly realized that building a specialized BMX bike was not just a necessary step to elevate his skills, but also an exciting bonding journey for us.
So, you might be wondering, how much does it cost to build a BMX bike? Well, the answer isn’t straightforward. The cost can vary significantly depending on what you’re looking for in your bike.
From freestyle bikes with flat top bars for tricks like barspins, to dirt bikes with smooth tires for street riding, the options are endless. Let’s dive in and explore this further.
Cost of a New Bike?
When I first decided to buy a new BMX, I was taken aback by the wide range of prices. I quickly learned that the cost of a new BMX bike can vary significantly, depending on several factors. The quality of the components, the size of the bike, and the design all play a role in determining the price.
On average, I found that BMX bikes can range anywhere from $100 to $500, with the median price falling between $150 and $350.
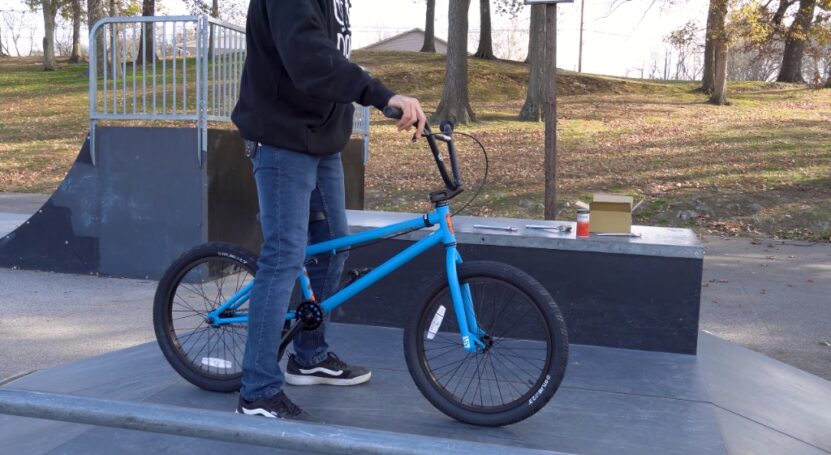
I remember walking into our local bike shop and seeing a shiny BMX bike with an aluminum frame. It was lighter than most other bikes and had a sleek design. The price tag? A cool $400. The shop owner explained that the aluminum frame was more expensive because it was lighter and more durable.
On the other end of the spectrum, there were BMX bikes for as low as $50, but these often required additional investments over time for things like brake and rim replacements.
In the end, I settled on a decent BMX that cost us $250. It wasn’t the cheapest option, but it wasn’t the most expensive either. It was a solid bike that served its purpose well and didn’t require immediate upgrades or replacements.
The lesson here? The cost of a new BMX bike can vary greatly, so it’s essential to consider your budget and needs before making a purchase.
Proper maintenance, including understanding how to clean your bike effectively, is essential for ensuring the longevity of the BMX bikes featured in the linked article on cost-effective builds for both adults and kids.
Cost to Build

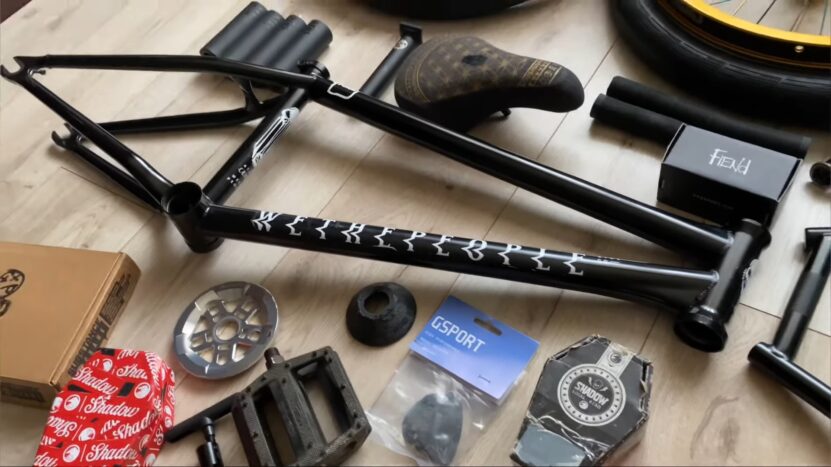
Building a BMX bike from scratch is a whole different ball game. I learned this when my son and I decided to embark on a project to build our own BMX bike. The cost can range anywhere from $200 to a staggering $1500, depending on the components you choose.
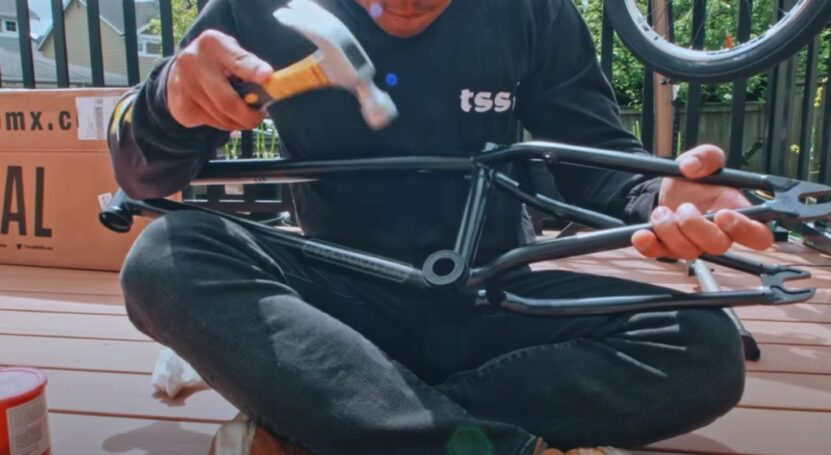
We started with the frame, the backbone of the bike. A good quality frame set us back around $200. We could have opted for a cheaper frame, but as with most things, you get what you pay for. We didn’t want to compromise on the quality, so we decided to invest in a good frame.
In the process of assembling your ideal BMX bike, understanding the nuances of selecting suitable frame styles and sizes is paramount, especially when considering the cost factors highlighted in the other article.
Then came the other components – the handlebars, fork, stem, crankset, sprocket, chain wheel, and pedals. Each part came with its own price tag. For instance, the bike forks cost us about $150, while the handlebars were around $30. The stem, which connects the handlebars to the bike, was another $20.
The crankset, which holds the pedals, cost us around $90. We also decided to add an extra sprocket to the crankset, which was an additional $25.
The pedals were another $30, and the chain wheel, which holds the chain, was about $40. Finally, we spent around $20 on the bottom bracket and $50 on a comfortable seat.
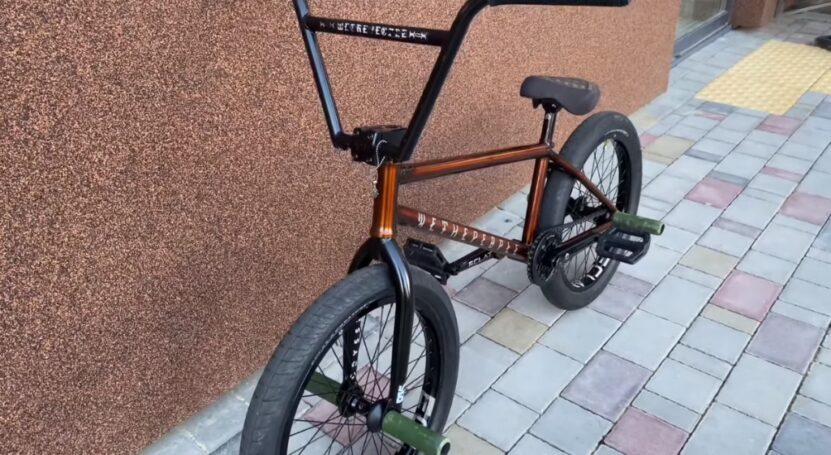
In the end, our BMX bike build cost us around $650. It was a bit more expensive than buying a new one off the shelf, but the experience of building it together and the ability to choose each component to our liking made it worth every penny.
Building a BMX bike can be a costly endeavor, but it also offers a level of customization and satisfaction that buying a new one simply can’t match.
Is It Easy To Build a BMX?
When my son and I decided to build our own BMX bike, I’ll admit, I was a little apprehensive. I’m not exactly what you’d call a ‘handyman’.
The first thing I learned was that building a BMX bike isn’t necessarily ‘easy’, but it’s certainly doable. It requires patience, a bit of technical know-how, and a willingness to learn.
There’s a certain level of complexity involved, especially when it comes to understanding the different components and how they fit together. But don’t let that deter you. There are plenty of resources available online, from tutorial videos to step-by-step guides, that can help you navigate the process.
While exploring the budget-friendly options for constructing BMX bikes suitable for adults and kids, it’s fascinating to read about someone’s endeavor to learn seven BMX tricks within a limited five-day training period, as detailed in the linked article.
The most challenging part for us was probably installing the crankset and the bottom bracket. It took a few tries to get it right, and we had to watch a couple of tutorial videos to understand the process.
But once we got the hang of it, it was a pretty straightforward process. The rest of the components, like the handlebars, fork, and stem, were relatively easy to install.
In the end, I wouldn’t say building a BMX bike is ‘easy’, but it’s definitely a rewarding experience. It’s a project that requires time, effort, and a bit of elbow grease. But the sense of accomplishment when you take that first ride on a bike you built with your own two hands? Now, that’s priceless.
How Much Does a BMX Weigh?
On average, I found that a standard BMX weighs around 25 to 28 pounds. This weight is a balance between durability and maneuverability. A bike that’s too light might not withstand the rough and tumble of BMX riding, while a bike that’s too heavy can be difficult to handle and perform tricks with.
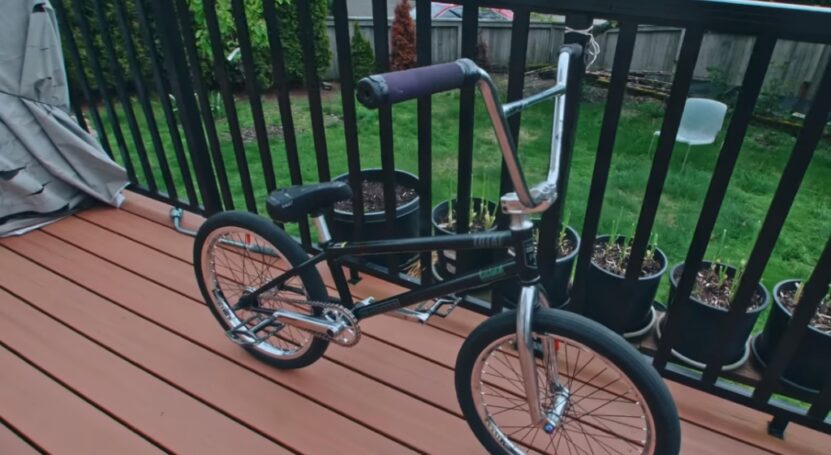
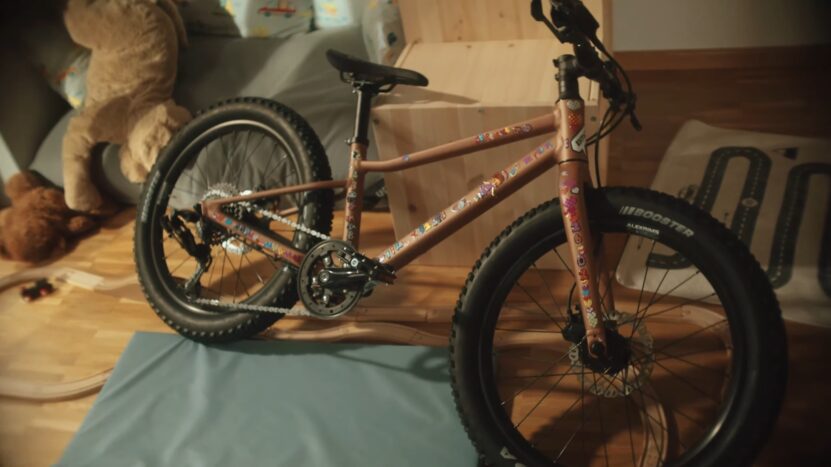
My handbuild BMX came in at around 26 pounds. It was a comfortable weight for my son, who was able to handle the bike with ease. The aluminum frame we chose played a significant role in keeping the weight down. Had we opted for a steel frame, the bike would have been heavier.
When contemplating the expenses involved in constructing BMX bikes for both adults and kids, the debate between a titanium and carbon bike frame, as explored in the linked article, becomes a significant factor to consider.
It’s also worth noting that the weight can vary depending on the components you choose. For instance, certain types of handlebars, seats, and pedals can add or subtract a few pounds. So, if weight is a significant factor for you, it’s something to consider when selecting your bike’s components.
Additional Costs Building a BMX bike doesn’t end with just the essential components. There are additional costs that you’ll need to consider, from safety gear to accessories and long-term maintenance.
Safety Gear
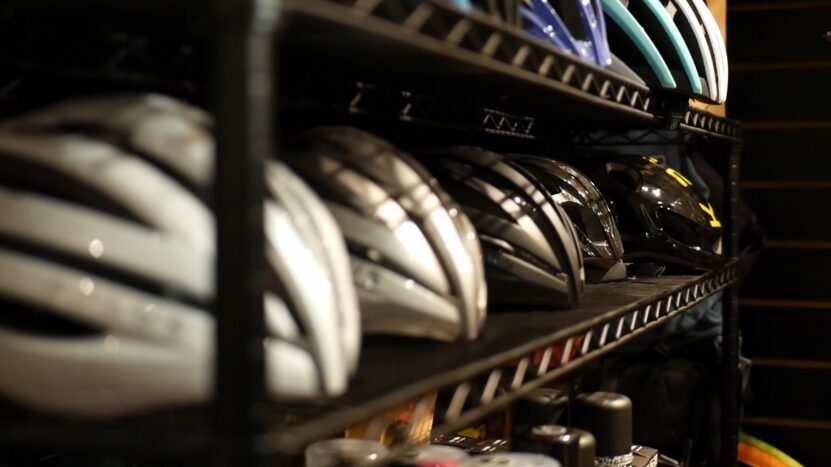
Safety should be your top priority when engaging in BMX biking. The essentials include a helmet, knee and elbow pads, and gloves.
- Helmet: A good quality BMX helmet can cost between $50 and $150.
- Pads: Knee and elbow pads range from $20 to $50 per pair.
- Gloves: Expect to pay around $20 to $40 for a decent pair of gloves.
Don’t skimp on safety gear. Your well-being is priceless, and a good set of protective gear can last you several years if properly maintained.
Accessories and Customization
Once your BMX bike is built, you might want to consider accessories or customization options to make your ride truly unique.
- Stickers and Decals: These can cost as little as $5 but can add a personal touch.
- Lights: If you plan on riding at night, lights can range from $10 to $50.
- Seat and Handlebar Upgrades: Custom seats and handlebars can cost between $20 and $100.
Remember that customization is optional but can enhance your riding experience and make your BMX bike a reflection of your personality.
Maintenance and Upgrades
BMX biking is an intense activity that can take a toll on your bike. Regular maintenance is essential to ensure your bike’s longevity and your safety.
- Cleaning Supplies: Basic cleaning supplies can cost around $20 to $50 per year.
- Replacement Parts: Chains, brake pads, and tires may need to be replaced every year or two, adding $50 to $100 annually.
- Professional Tuning: While you can perform basic maintenance yourself, a professional tune-up can cost around $50 to $100 and is recommended at least once a year.
Choosing Between New and Used Parts
So, you’ve decided to take the plunge and build your own BMX bike. One question you might be grappling with is whether to invest in brand-new components or to hunt for quality used parts. Let’s explore the pros and cons of each option.
New Parts: Reliability at a Cost
When you opt for new parts, you benefit from the assurance that they haven’t been subjected to wear and tear. You’re also more likely to find the latest designs and technologies, allowing you to build a high-performance BMX bike.
- Warranty: Most new parts come with a manufacturer’s warranty, offering peace of mind.
- Latest Technology: You’re likely to get parts with better materials, designs, and technological advancements.
However, new parts come at a premium, raising the total cost of building your bike. If you’re on a budget, this might limit how high-end you can go with your components.
Used Parts: Affordability with Caveats
Used parts are an excellent way to cut costs without necessarily sacrificing quality. Enthusiasts often sell parts in excellent condition, either because they’ve upgraded or changed their biking focus.
- Cost-Efficient: You can save substantially by going for used parts. It’s not uncommon to find high-quality components at half the price or less.
- Tested Reliability: Some riders prefer the “tried and true” nature of used components, especially if they come from a trusted source.
The downside, of course, is that used parts may have hidden defects or be nearing the end of their lifespan. Always inspect used parts carefully, and try to purchase from reputable sources.
Mixed Approach: Best of Both Worlds
You don’t have to stick exclusively to one category. Many riders opt for a mixed approach, choosing new parts for critical components like the frame and brakes, while going used for other elements like the wheels or crankset.
- Strategic Savings: This approach allows you to allocate more of your budget to essential components while saving on others.
- Balanced Performance: With critical components new, you can ensure your bike’s performance and safety while benefiting from the cost-savings of used parts in less critical areas.
The mixed approach offers a balanced way to get the most out of your budget, especially if you’re a beginner or if you’re building a bike for occasional use.
Sourcing Components: Where to Buy?
Finding the right parts is crucial for your BMX bike-building project. The sources you choose can have a significant impact on the cost, quality, and overall success of your endeavor.
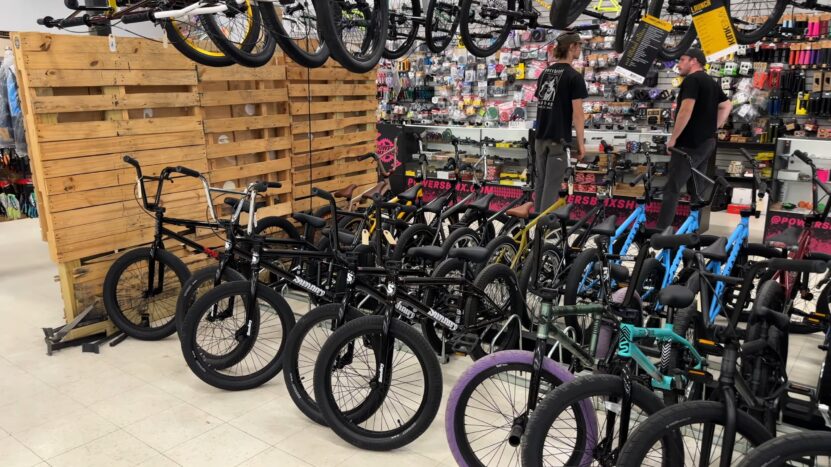
Local Bike Shops: Expert Advice and Instant Gratification
Local bike shops are invaluable resources for both beginners and seasoned BMX riders. They offer expert advice, allow you to physically inspect products, and usually provide after-sales service.
- Expert Guidance: Store personnel can provide tailored advice, helping you make informed decisions.
- Immediate Availability: You can walk out of the store with your purchase, speeding up your building process.
However, local bike shops may have limited stock and potentially higher prices compared to online options.
Online Stores: Convenience and Variety
The internet is a treasure trove of BMX bike components. Websites often offer a broader range of options, competitive prices, and the convenience of shopping from home.
- Variety: You can find almost any component in various materials, designs, and price ranges.
- Competitive Pricing: Online stores often have lower overheads, allowing for more competitive pricing.
The downside is the inability to physically inspect parts before buying and the wait time for shipping. Always check the return policy when buying online.
Peer-to-Peer Platforms: The Treasure Hunt
Sites like eBay, Craigslist, or specialized BMX forums can be gold mines for quality used components. Experienced riders often sell off parts when they upgrade, providing a source for high-quality, affordable components.
- Bargain Prices: You can often negotiate prices directly with sellers.
- Rare Finds: These platforms may feature components that are no longer in production but highly valued.
The drawback is the potential risk of scams or purchasing defective components. Always exercise caution and try to inspect parts in person when possible.
How to Budget
After exploring the different costs involved, you might be wondering how to go about budgeting for your BMX bike project. The key is to find a balance between quality, performance, and your financial limitations.
Prioritize Critical Components
The first step in budgeting is to identify which components are most crucial to your specific needs and allocate more of your budget to them.
- Essential Investments: For example, if you’re into BMX racing, investing in a lighter frame and high-quality wheels can give you a competitive edge.
- Long-term Benefits: Spending a bit more on parts like the drivetrain can save you money in the long run as they are less likely to require frequent replacements.
Plan and Research
Take the time to research parts, compare prices, and read reviews. Planning ahead allows you to make the most of sales, discounts, and special offers.
- Comparison Shopping: Use online tools and catalogs to compare prices across various sellers.
- Timing: Watch out for seasonal sales or clearance events where you could snag high-quality components at a fraction of the price.
Consider Future Maintenance Costs
Building your BMX bike is not a one-time expense. Be prepared for ongoing maintenance costs and possible upgrades.
- Set Aside Funds: Keep a small budget for routine maintenance tasks like chain replacement, brake pad upgrades, or tire replacements.
- Skill Building: Learn basic maintenance skills to save money on minor repairs and adjustments that you can do yourself.
FAQs
Can I build a BMX bike if I have no mechanical skills?
Yes, you can still build a BMX bike even if you’re not mechanically inclined. There are numerous online tutorials, videos, and step-by-step guides that can help you through the process. You can also seek advice from local bike shops or experienced BMX riders.
It might take a bit longer, but the learning experience can be rewarding.
Is it cheaper to build a BMX bike or buy a pre-built one?
The cost can vary depending on your choices. Building a BMX bike allows you to customize each component, but it can be more expensive, especially if you opt for high-quality or brand-new parts.
Pre-built bikes offer a range of prices but may require upgrades or replacements down the line. If you’re on a tight budget, building a bike with quality used parts could be a cost-effective option.
What tools will I need to build a BMX bike from scratch?
Basic tools you’ll need include a set of Allen wrenches, a pedal wrench, a chain breaker, a bottom bracket tool, a crank puller, and a set of screwdrivers. Some specialized components may require specific tools, so it’s a good idea to check the installation guidelines for each part you purchase.
How long does it typically take to build a BMX bike?
The time it takes to build a BMX bike can vary widely depending on your experience level and the complexity of the bike. For a beginner, it might take a full weekend or several evenings spread out over a week.
For someone with experience and all the parts and tools readily available, it could take as little as a few hours.
How do I choose the right frame size for my BMX bike?
Frame size is crucial for both comfort and performance. The right size depends on your height and riding style. For example, taller riders may prefer a frame that’s 21 inches or larger, while shorter riders might opt for a frame closer to 20 inches.
It’s advisable to consult sizing charts or seek expert advice to find the frame size that’s right for you.
Are there any certifications or standards I should look for when buying BMX components?
Yes, it’s a good idea to look for components that meet certain safety and quality standards. For example, helmets should meet safety certifications like CPSC, ASTM, or Snell.
For other components like frames, forks, and wheels, look for ISO or other industry certifications that ensure they have passed rigorous testing for strength and durability.
Final Words
Embarking on the journey of buying or building a BMX bike is an exciting adventure filled with numerous considerations. From understanding the cost of a new BMX bike to the detailed expenses involved in building your own, it’s a process that requires thoughtful decision-making.
But whether you’re spending $250 on a new bike or investing $650 in building your own, the joy and satisfaction that come with BMX biking make it a worthwhile investment.
Building a BMX bike isn’t necessarily an easy task, but it’s a rewarding one. It’s an opportunity to learn, to challenge yourself, and to create something with your own two hands. And while the weight of the bike might seem like a small detail, it plays a significant role in the bike’s performance and how it feels to ride.
In the end, whether you choose to buy or build, remember that the journey is just as important as the destination. The process of researching, learning, and finally making a decision is a valuable experience in itself.
And when you finally hit the road or the dirt track on your BMX bike, you’ll know that every decision, every challenge, and every penny spent was worth it. Happy riding!