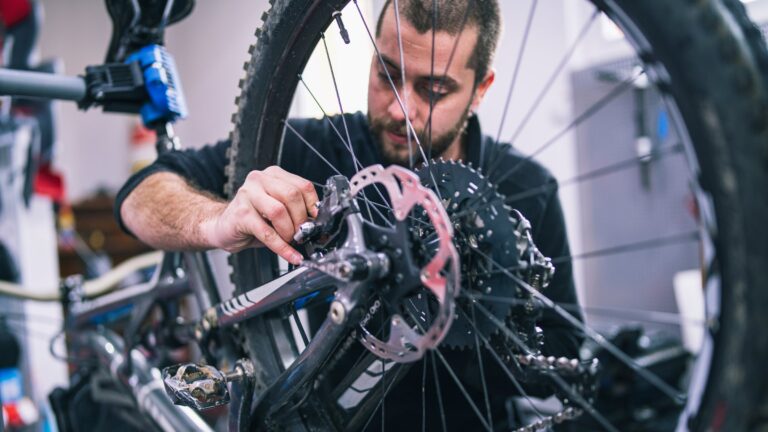
Bike maintenance can seem like a daunting task, but with a little knowledge and the right tools, it becomes an easy and satisfying part of cycling life. One essential skill every rider should have is knowing how to adjust bike brakes.
A bike with improperly adjusted ones is not just inefficient, it can be downright dangerous. In this blog post, we will explore the various ways to adjust them, making the process accessible for riders of all levels.
The Basics
Before diving into the adjustments, understanding the types and their components is crucial. A broad categorization includes rim and disc brakes, each having its unique needs.
Different Variants
Different bikes use different braking systems, and knowing the type you are working with is crucial.
Rim Variation
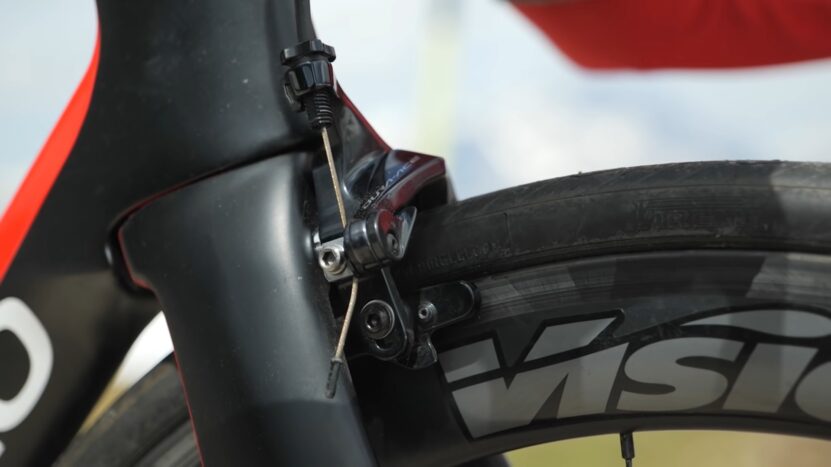
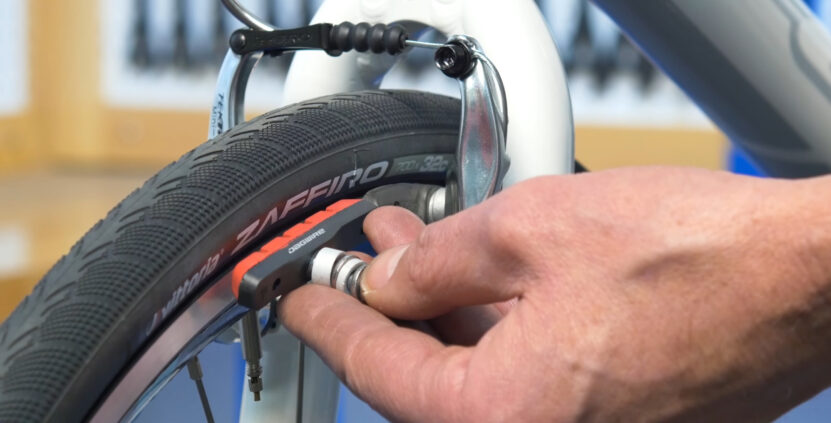
Rim brakes, common on road and commuter bikes, work by applying pressure from pads to the rim of the bicycle wheel. To adjust them:
- Inspect the Pads: Ensure they are not worn out and are hitting the rim squarely.
- Tighten or Loosen the Cable: Use the barrel adjuster to bring the pads closer to the rim or farther away.
- Center the Arms: Ensure both sides are an equal distance from the rim to avoid one-sided contact.
Disc Variation
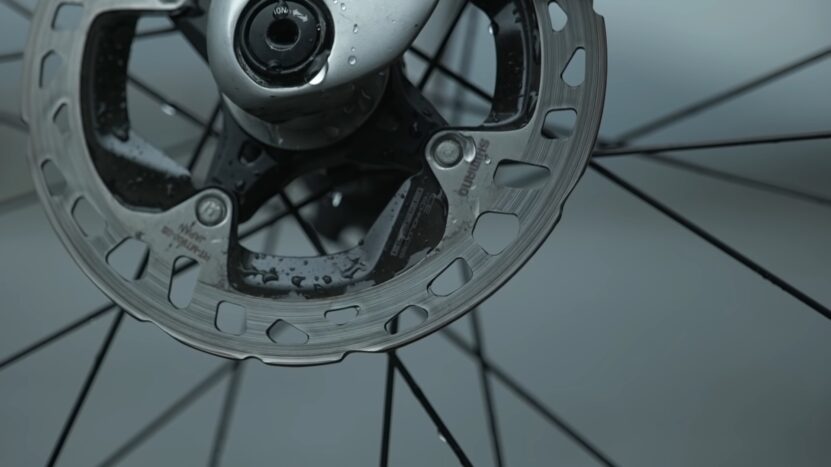
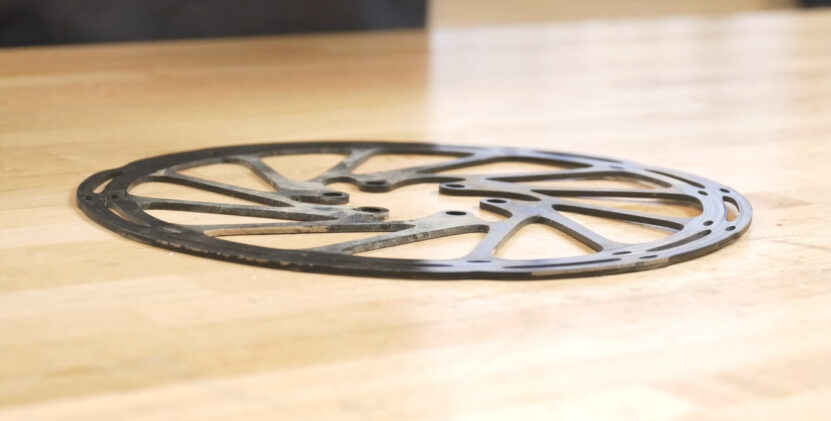
Disc brakes, found mostly on mountain bikes, use a hydraulic or mechanical system to squeeze pads against a rotor. Here’s how to adjust them:
- Align the Caliper: Loosen the bolts and align it so that it is centered over the rotor.
- Adjust Pads: Ensure they are not worn and have adequate spacing from the rotor.
- Bleed Hydraulic: Remove air bubbles from the hydraulic system to maintain optimal performance.
Components
Knowing the components of bike brakes can aid in proper adjustment and maintenance.
Levers
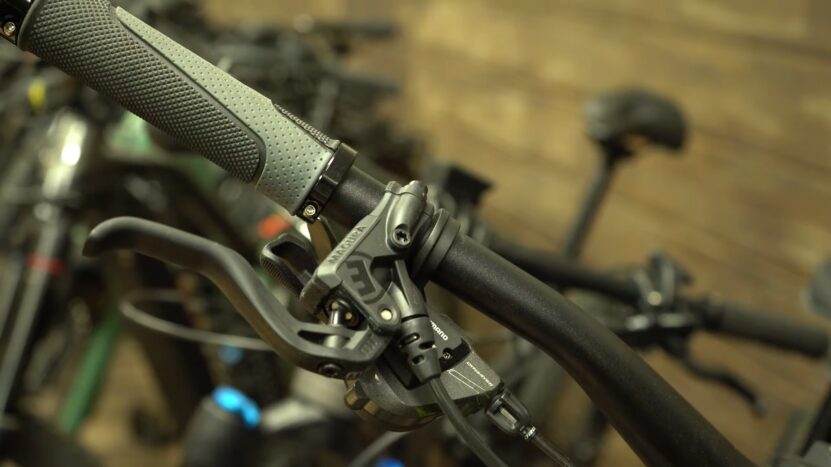
Brake levers, mounted on the handlebars, activate the braking system. Proper adjustment involves:
- Setting the Reach: Adjust the distance of the lever from the handlebar for comfortable access.
- Modifying the Cable Tension: Optimize the tension for efficient braking response.
Cables
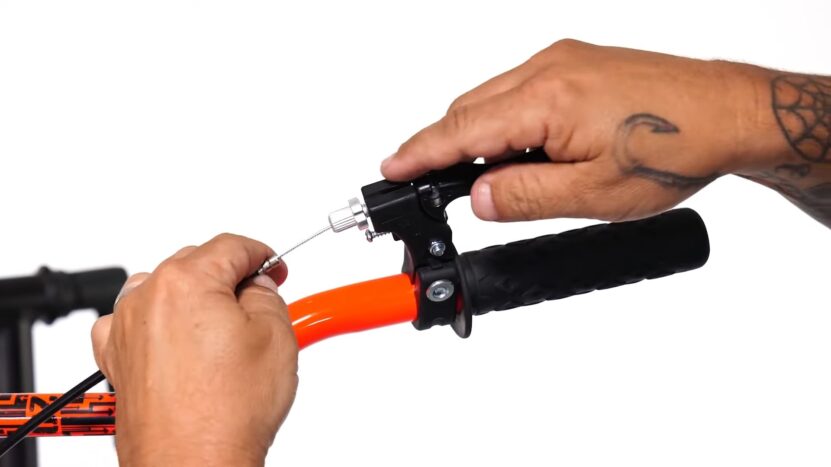
Brake cables transmit the force from the lever to the brake mechanism. Maintain them by:
- Lubricating: Regular lubrication prevents friction and ensures smooth operation.
- Checking for Damage: Regularly inspect cables for any signs of wear, fray, or damage and replace them if necessary.
Step-by-Step Guide to Adjusting
Adjusting bike brakes is a straightforward process once you know the components and the type your bike uses. This section will provide detailed, step-by-step instructions for adjusting both rim and disc variations, ensuring your bike is safe and responsive.
Adjusting
Rim brakes require regular adjustments to maintain optimal performance.
Check and Adjust Pads
- Align the pads properly with the rim to avoid uneven wear.
- Check for wear regularly and replace the pads if the grooves are not visible.
Tighten or Loosen the Cable
- Use the barrel adjuster to correct the distance between the pads and the rim.
- If further adjustment is needed, loosen the anchor bolt, adjust the cable tension, and retighten.
Adjusting Disc Brakes
Disc brakes, especially hydraulic ones, might need more specialized care compared to rim ones.
Align the Caliper
- Loosen the caliper bolts slightly and realign the caliper so it is centered over the rotor.
- Tighten the bolts while ensuring the caliper doesn’t move out of alignment.
Adjust Pads and Bleed Hydraulic
- Check the pads for wear and replace if necessary.
- For hydraulic disc brakes, bleed them to remove any air bubbles in the hydraulic fluid.
Troubleshooting Common Issues
Even with proper adjustments, brakes can face issues due to wear and tear or other unforeseen problems. Knowing how to troubleshoot these common issues can save you time and ensure your safety on the road or trail.
Squeaky
Squeakiness is a common issue and can be annoying, but solutions are often simple.
Clean the Rim or Rotor
- Dirt and oil on the braking surface can cause squeaking.
- Clean it with a proper solvent and a clean rag.
Toe-In Pads
- Adjust the angle of the pads so that the front edge contacts the rim or rotor first.
- This will reduce vibration and noise.
Uneven Pad Wear
Uneven wear can lead to reduced braking efficiency and safety concerns.
Realign Pads
- Ensure that the pads are properly aligned with the rim or rotor.
- Adjust the angle if necessary to ensure even contact and wear.
Balance Arms
- For rim brakes, ensure that both arms move equally.
- Adjust spring tension if one side is moving more than the other.
Maintaining Optimal Performance
Maintaining optimal brake performance is as crucial as initial adjustment and troubleshooting. Regular maintenance checks will not only ensure your safety but will also extend the lifespan of your braking components, saving you money and hassle in the long run.
Regular Inspection and Cleaning
The first step in maintaining optimal performance is regular inspection and cleaning. It is essential to prevent the accumulation of dirt and grime which could impact the functioning.
Inspecting Components
- Regularly inspect the pads, cables, and other components for wear and tear.
- Look for any signs of damage or irregularities and address them immediately.
Cleaning Parts
- Clean the brake pads, rims, or rotors regularly to remove any dirt, oil, or grime.
- Use a suitable cleaning agent and ensure that all components are dry before riding.
Timely Replacement of Worn-Out Parts
Recognizing when it’s time to replace worn-out parts is crucial to maintaining optimal performance and ensuring your safety on the road.
Changing Pads
- Brake pads wear out over time and need to be replaced regularly.
- Measure the thickness of the pads; if it’s below the minimum threshold, replace them immediately.
Replacing Cables
- Over time, brake cables can fray, rust, or get damaged.
- Inspect them regularly and replace them if you notice any signs of wear or damage.
Enhancement Tips for Better Braking
Adjusting and maintaining your bike’s brakes are essential, but sometimes, enhancements can provide you with a better and safer biking experience. Here are some tips that can help you achieve superior braking.
Upgrading Pads

Sometimes, the stock brake pads might not offer the best performance, and upgrading them can make a noticeable difference.
Choosing High-Quality Pads
- Opt for high-quality pads that offer better-stopping power and durability.
- Research and choose the ones that are best suited for your riding style and conditions.
Proper Installation
- Installing the new pads correctly is crucial.
- Follow the manufacturer’s guidelines to ensure proper alignment and secure fitting.
Upgrading to Disc Brakes
If your bike has rim brakes, upgrading to disc brakes can offer significant improvements in braking performance, especially in wet conditions.
Choosing the Right Disc Set
- Research and select a disc set that is compatible with your bike and suits your needs.
- Consider factors like ease of installation, maintenance requirements, and cost.
Professional Installation
- Upgrading to disc brakes can be complex and may require professional installation.
- Consult with a qualified bike mechanic to ensure the upgrade is done correctly and safely.
FAQs
How often should I check and adjust my bike brakes?
Ideally, you should give your brakes a quick check before each ride to ensure they’re functioning correctly. For more detailed inspections and adjustments, consider doing them every few months, depending on how often and in what conditions you ride. If you hear any unusual noises, feel any changes in braking response, or see visible wear and tear, address those issues immediately.
Is it necessary to replace both pads at the same time?
Yes, it’s generally advisable to replace both brake pads at the same time to ensure uniform braking. Uneven wear can lead to imbalanced braking, which can affect the bike’s handling and overall safety.
Can I use any lubricant for cables?
No, it’s important to use a lubricant that is specifically designed for bike brake cables. Using the wrong type of lubricant can attract dirt and grime, causing more friction and wear over time. Consult your bike’s manual or a professional bike mechanic for recommendations on suitable products.
Should I be concerned if I see small scratches on my bike’s rotor?
Small scratches on the rotor are usually normal, especially after frequent usage, and typically do not affect braking performance. Deep scratches, gouges, or significant damage require immediate attention, and the rotor may need to be replaced to avoid compromising safety.
How do I know if my cables are too tight or too loose?
If your brake cables are too tight, the brakes will be partially engaged even when you’re not applying them, causing drag and wearing out the brake pads. If the cables are too loose, you will need to squeeze the levers harder, and the response will be sluggish.
Adjust the tension so that the brakes respond promptly with a light squeeze and fully release when you let go.
Can I adjust and maintain hydraulic disc brakes by myself, or should I always consult a professional?
While minor adjustments and maintenance, such as cleaning and pad replacement, can often be done at home with the right knowledge and tools, hydraulic discs do require more specialized care, such as bleeding the lines, which can be complex.
If you’re unfamiliar with the process or uncomfortable performing it, it’s best to consult a professional to avoid causing damage or compromising safety.
Final Words
Knowing how to adjust bike brakes is a valuable skill that enhances the cycling experience, ensuring safety and optimal performance. Whether you are dealing with rim or disc brakes, regular inspection and timely adjustment can prevent many common issues.
By following this comprehensive guide, riders of all levels can feel confident in adjusting and troubleshooting their bike’s brakes, making every ride a smooth and enjoyable one. Remember, always test the bike in a safe environment after adjusting them to ensure everything is working correctly before heading out on the road or trail.
If you still experience issues after adjustment, consider consulting a professional bike mechanic. Keep riding and stay safe!