Are you sick of wondering all the time that your mountain bike chain will break? Or perhaps you’re sick and tired of hearing that obnoxious clicking sound when you alter the gears, it just won’t stop. Well, fear not; assistance is at hand! We’re going to demonstrate how to properly install a mountain bike chain in this article so you can ride smoothly and worry-free. You can quickly replace your old, worn-out chain with a new one by following a few easy steps and using some simple equipment. Then you can resume ripping those trails. As a result, let’s get going and get your bike up and running!
Tools and Materials Needed
You’ll need a few necessary tools and materials before we get started in order to do the work:
- A chain tool;
- A new chain;
- Bicycle-specific lubricant;
- A rag for wiping off excess lubricant.
With these items on hand, you’ll be ready to tackle the task of putting on a mountain bike chain and getting back out on the trails with confidence.
How to Put on a Mountain Bike Chain
Removing the Old Chain
To install the new chain, the old one must be taken apart.
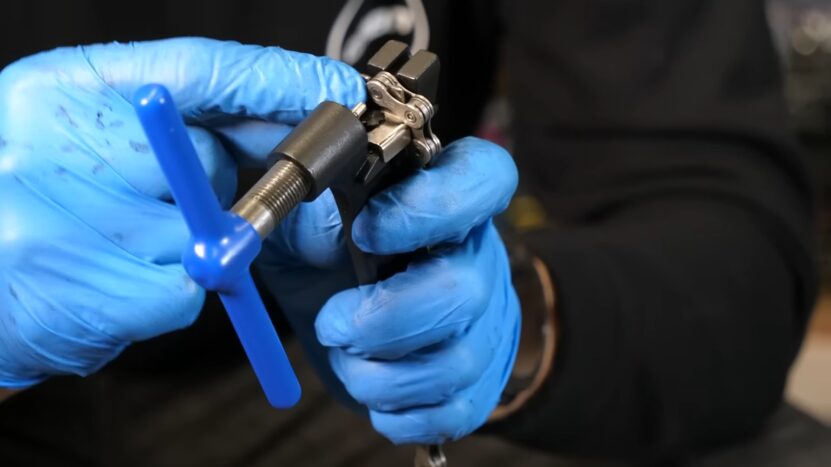
Using a chain tool to break the chain:
- Find the master link or rivet holding the chain together to start. If your chain has a master link, you should first press the side plates of the link together using a pair of pliers before slipping the link out of the chain. A chain tool must be used to break the chain at a rivet if your chain lacks a master link.
- To remove a rivet from the chain, position the chain tool over the desired rivet and turn the tool’s handle. Until the chain is completely disconnected, repeat the procedure for the other end.
Removing the chain from the bike:
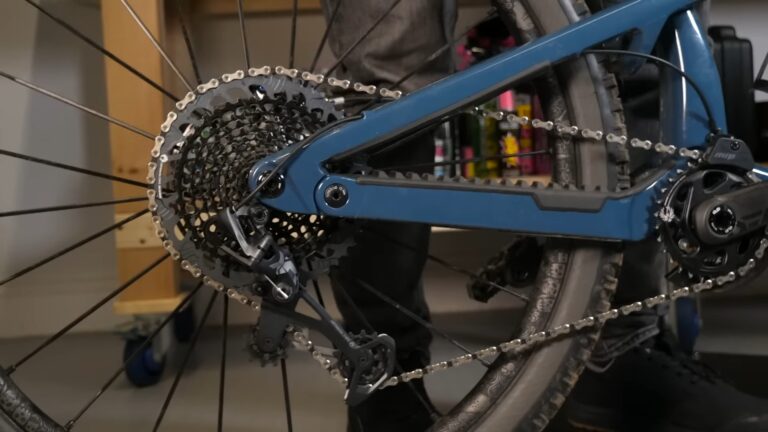
- You can take the chain off the bike once it has broken. Start by putting the chain in the rear cog and smallest chainring. The chain will have the most slack and be the easiest to take off if you do this.
- Be careful not to harm the chain or the rear derailleur as you slowly take the chain away from it. The chain should then be pulled off the teeth of the front chainring.
With the old chain removed, you can move on to installing the new chain.
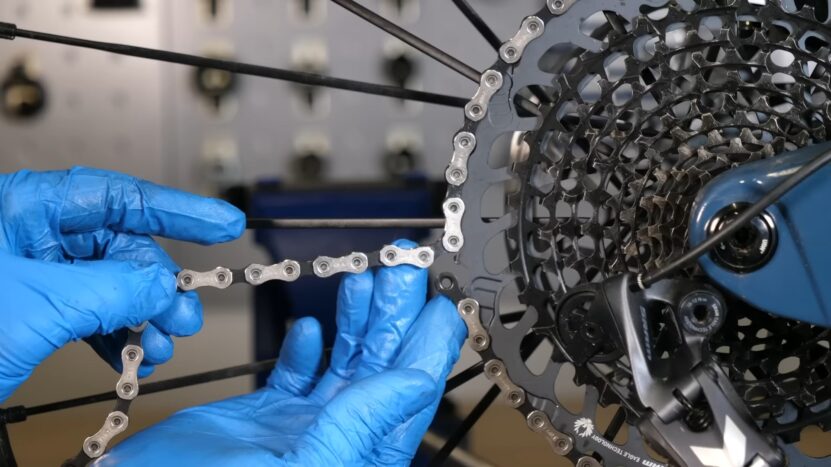
Measuring the New Chain
Once you’ve removed the old chain, you’ll need to measure the new chain to determine the correct length.
- Wrap the new chain around the largest chainring and the largest rear cog, without going through the derailleur.
- Add two links to this length.
- Use a chain tool to break the chain to this size.
And here are the steps for adding or removing links if necessary:
To add links:
- Use a chain tool to push out the pins in the extra links on the chain.
- Use a pair of pliers to snap the chain back together at the desired length.
To remove links:
- Use a chain tool to break the chain at the appropriate link.
- Remember to remove an equal number of links from both sides of the chain for even tension.
Once you’ve determined the correct length and adjusted the chain if necessary, you can move on to installing it and lubricating it for optimal performance.
Installing the New Chain
As soon as the old chain is removed and the new chain is measured, it is time to install the new chain.
- Setting the chain on the front chainring: Before getting started, set the new chain on the front chainring and check if it is properly seated and aligned.
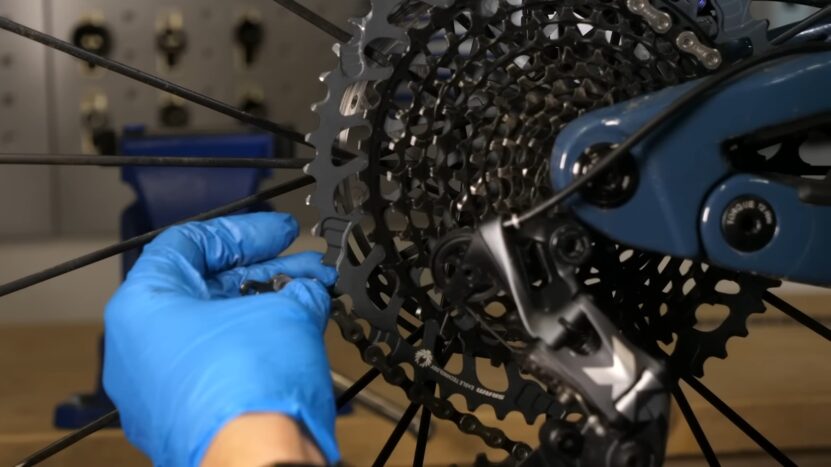
- Routing the chain through the derailleur: After that, route the chain through the derailleur, and make sure it is properly threaded through each pulley.
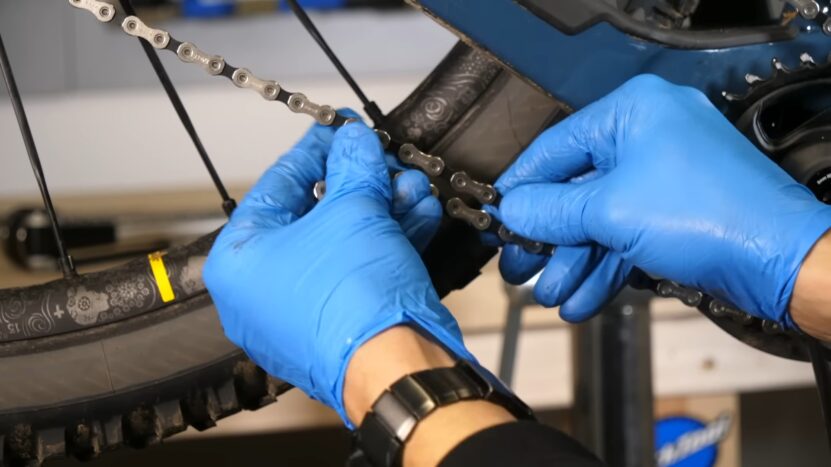
- Putting the chain ends together: The chain ends can be joined once it has been threaded through the derailleur. This can be achieved by connecting the chain’s ends with a chain pin or a quick link.
- Assembling the chain with a chain tool: If you’re using a chain pin, press the pin through the chain links with a chain tool. Before inserting the pin, make sure the chain is properly positioned. Use the chain tool to cut the extra pin after it has been inserted.
If a quick link is being used, place it in the chain and then snap it shut with your hands. The installation process for each quick-link type can differ, so make sure to pay attention to the instructions.
You should make sure the new chain is running smoothly and is correctly tensioned after installing it. If everything appears to be in order, you can lubricate the chain to ensure optimum operation.
Lubricating the New Chain
The new chain has now been attached, and it has to be lubricated to guarantee smooth operation and durability. The actions to take are as follows:
- Applying a chain lubricant designed for bicycles: Choose a bicycle-specific lubricant first, that is suitable for your riding circumstances. A dry lube works better in dry and dusty environments, while wet lubrication is best in wet and muddy ones. Working your way around the chain until the entire length is covered, drop a small amount of oil onto each link.
- Circling the pedals to evenly distribute the lubrication: To distribute the lube uniformly down the chain, spin the pedals a few times backward after applying it. By doing this, you may make sure that every link is lubricated and operating smoothly.
- With a rag, remove extra lubricant: Finally, remove any extra lubricant that may be on the chain by wiping it off with a rag. An excessive amount of oil can collect dirt and debris and hasten the chain and drivetrain’s deterioration. Make sure to thoroughly wipe the chain so that there is only a thin film of lubricant left.
When the chain is lubricated properly, you’re ready to hit the trails and take advantage of a quick and comfortable ride. To increase the lifespan of your chain and enhance your riding experience, keep in mind to clean and lube it frequently. WD40 works well as a chain lubricant, and it has many positive reviews from bikers all over the world so you can use it when changing the chain and maintaining its quality.
Testing the New Chain
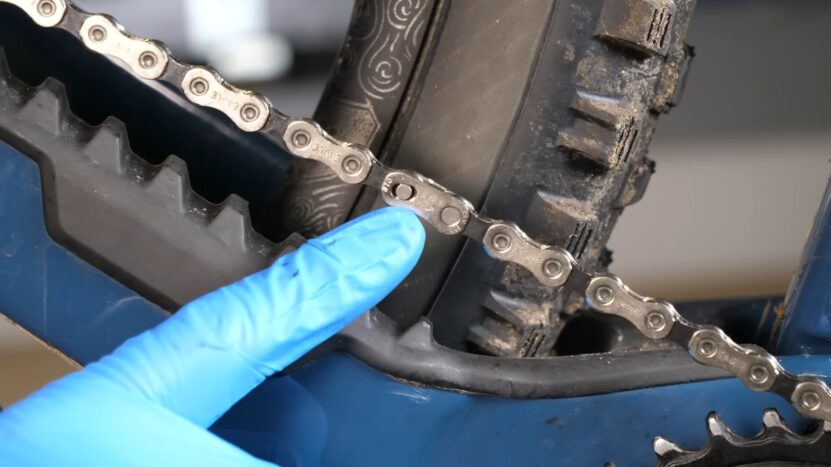
It’s crucial to test the new chain after assembling and lubricating it to make sure everything goes as planned.
- Checking the chain’s tension first: Begin by examining the chain’s tension. When you push down on the chain, it should be taut with very little play. In the middle of the chain run, you should be able to push the chain down by roughly 1/2 inch. Use the derailleur to change the tension if the chain is either too loose or too tight.
- Shifting through all gears to ensure smooth operation: Once you’ve checked the chain tension, shift through all the gears to ensure that the chain is running smoothly. Start with the smallest rear cog and work your way up to the largest, checking that the chain is properly engaging each cog as you go. Then, shift through the front chainring and repeat the process.
- Pay attention to any skipping, slipping, or difficulty shifting, as these can be signs of a problem with the chain installation or adjustment. If you notice any issues, you may need to make further adjustments or consult a bike mechanic for assistance.
You may improve your riding experience and increase the lifespan of your bike’s drivetrain by testing the new chain to make sure it is placed correctly and operating smoothly.
Final Thoughts
You’ve mastered the process of mounting a mountain bike chain, congrats! Whether you’re riding through gorgeous trails or through rugged terrain, you’ll be able to keep your bike operating smoothly and efficiently with the help of your new knowledge. Don’t forget to routinely check your chain for wear and tear and replace it as needed. A properly maintained chain is crucial for a safe and comfortable ride. You won’t have to stress about chain-related accidents by using these methods, so you can take part in plenty more thrilling mountain bike experiences. So, get ready and ride the trails in assurance, knowing that your bike’s chain is in excellent condition!
If you want to know how long bike chains last click here.