Measuring your bike tire accurately is crucial for ensuring that you get the right replacement when it’s time for a new tire. Riding on a tire that’s not the correct size for your bike can affect its performance and might even damage the bike.
An incorrectly sized tire can also lead to accidents, especially if it bursts while you’re riding. The wrong size can affect the handling, making it harder to steer, brake, or accelerate. On the performance side, the right size ensures optimal speed, grip, and efficiency.
Fun Fact: Did you know that in the early days of cycling, every country that manufactured bicycles developed its own system of marking the sizes? This meant the same size would be known by different numbers in different countries!
Gathering the Necessary Tools
Before you start measuring your bike tire, ensure you have the following tools on hand:
- A tape measure or a ruler.
- A piece of chalk or a marker.
- A flat and stable surface to place your bike on.
Importance of Accuracy

Accuracy is key with even a small discrepancy in size leading to performance issues or safety concerns. For instance, a tire that’s slightly too large might rub against the bike frame or brakes, while onee that’s too small might not support the bike’s weight properly.
Pro Tip: Always measure your tire’s diameter and width in multiple spots to ensure accuracy. They can wear unevenly, which might give you different measurements depending on where you measure.
Measuring Diameter
Step-by-Step Process:
- Place the Bike on a Stable Surface: This ensures that the bike doesn’t move while you’re measuring, which could lead to inaccurate results.
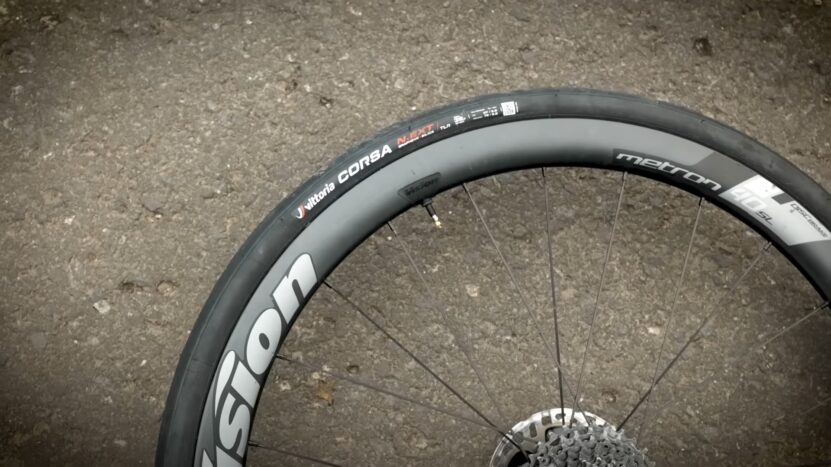
- Locate the Valve Stem: This is the small protrusion where you inflate the tire. It’s a good reference point to start your measurement.
- Measure the Distance to the Ground: Starting from the center of the wheel (where the valve stem is), measure straight down to the ground. This gives you the radius of the tire. Multiply this number by two to get the diameter.
Calculating the Diameter
Once you have the radius, simply double that number to get the diameter. For instance, if your radius is 13 inches, your tire’s diameter is 26 inches.
Interesting Fact: The traditional sizing systems for bikes are based on a measurement of the outside diameter. This could be in inches (like 26″, 27″, etc.) or millimeters (like 650, 700, etc.).
Determining Width
When it comes to measuring the width, there are a couple of methods you can use:
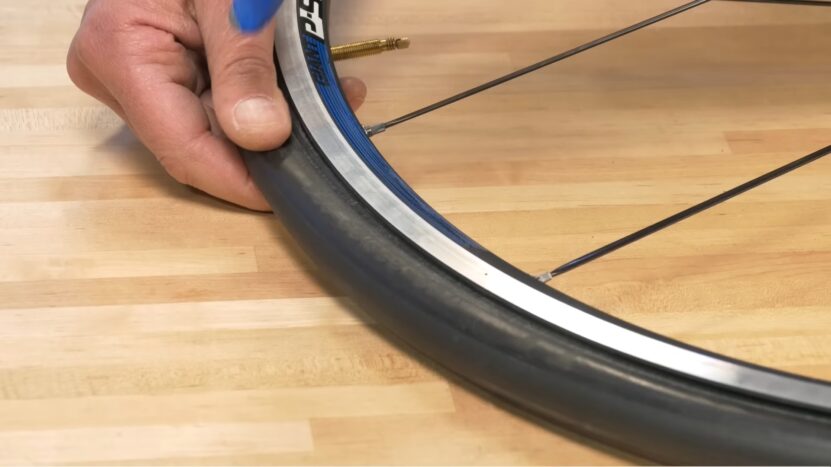
- Using a Caliper or Tape Measure: This is the most direct method. Simply use a caliper or a tape measure to measure the width from one side to the other. Ensure the tire is properly inflated to get an accurate measurement.
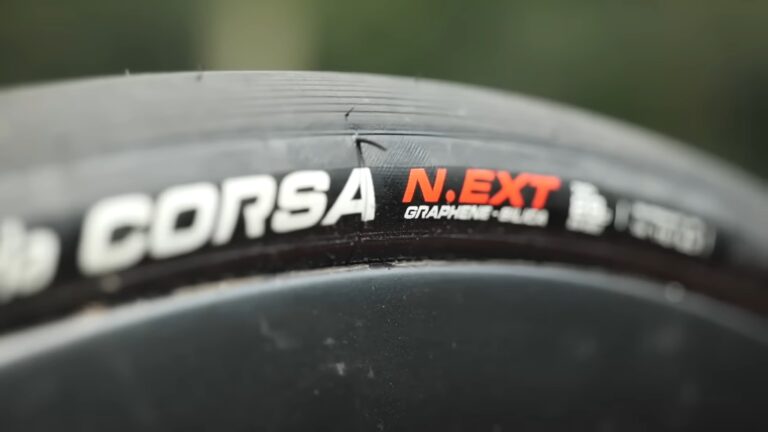
- Reading the Sidewall: Most tires have their dimensions printed on the sidewall. You’ll often see two numbers – the first represents the diameter, and the second represents the width. For instance, a marking of “700×23” means the tire has a diameter of 700mm and a width of 23mm.
Pro Tip: Always double-check the measurements, especially if you’re planning to switch to a different width. The fit can vary between brands.
Width Markings
Width markings can sometimes be confusing due to the variety of sizing systems used. For instance, some use the French system, where the first number is the nominal outside diameter in mm, followed by a width letter code.
In other systems, the width might be expressed in inches or as a decimal. It’s essential to understand the specific sizing system used by your manufacturer to ensure you’re getting the right fit.
Interesting Fact: Competitive pressures in the past led to inaccuracies in width measurements. Some companies would understate the width to make their tires seem lighter compared to competitors. Thankfully, there’s now a trend towards more accurate width measurements.
Checking Pressure
Pressure plays a crucial role in how your bike performs. Properly inflated tires offer a smoother ride, better traction, and reduced risk of flats. On the other hand, under-inflated tires can make pedaling harder and increase wear, while over-inflated can be more susceptible to punctures.
Did You Know? The optimal pressure isn’t just about the specifications. It also depends on factors like the rider’s weight, riding conditions, and personal preference.
Using a Pressure Gauge
- Valve Types: There are mainly two types of valves – Presta and Schrader. Presta valves are commonly found on road bikes and are slimmer, while Schrader valves resemble car tire valves and are often on mountain bikes.
- Correct Inflation Pressure: Always refer to the manufacturer’s recommended pressure range, usually printed on the sidewall. Use a reliable pressure gauge to check and adjust as necessary. Remember, pressure can change with temperature, so it’s a good idea to check it before each ride.
Fun Fact: Over time, tiny amounts of air escape from the tire, even if there are no punctures. This phenomenon is called “permeation,” and it’s why regular pressure checks are essential.
Troubleshooting and Common Issues
- Uneven Wear: Uneven wear can be a sign of misaligned wheels, improper inflation, or issues with the brakes. Regularly inspect your tires for signs of uneven wear and address the root cause to ensure a longer lifespan.
- Tread Depth Inspection: The tread depth is crucial for grip, especially in wet conditions. As tires wear down, their ability to disperse water and maintain grip diminishes. If the tread is too worn, it’s time for a replacement.
- Dealing with Odd-Sized Tires: Some older bikes or those from specific regions might have non-standard sizes. If you own such a bike, sourcing replacements can be a challenge. It’s essential to know the exact dimensions and be prepared to search specialty stores or order online.
Pro Tip: If you’re struggling to find a replacement for an odd-sized tire, consider consulting with a local bike shop. They might have insights or solutions you haven’t considered.
FAQ
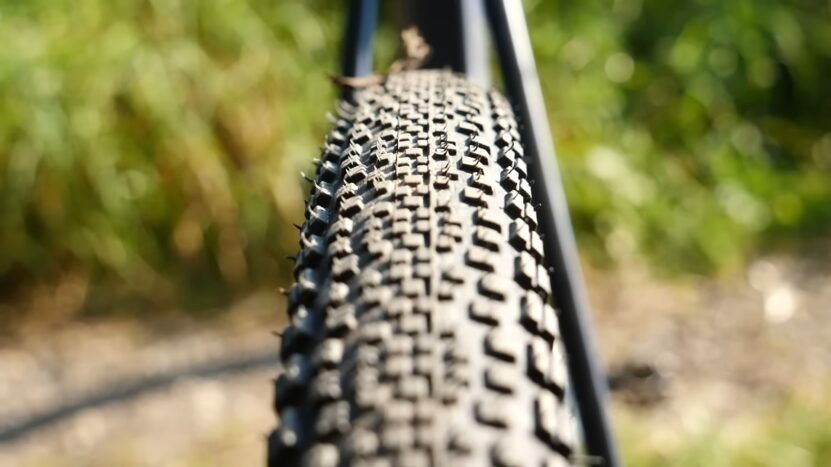
Why do some bike tires have tread patterns while others are smooth?
Tread patterns are designed to provide grip in specific conditions. Mountain bikes, for instance, have deep treads to grip rough terrains and muddy trails. On the other hand, road bikes are often smooth because they’re designed for speed on paved surfaces, where a smooth tire provides less rolling resistance.
How often should I replace my bike tires?
The frequency of replacement depends on several factors, including the type, the terrain you ride on, and how often you ride. As a general rule, you should replace them when you notice significant wear, or cracks, or when the tread depth becomes too shallow.
Can I use a mountain bike tire on a road bike and vice versa?
While it’s technically possible to fit a mountain bike tire on a road bike and vice versa, it’s not recommended. Each type is designed for specific conditions and performance criteria. Using the wrong type can affect handling, safety, and performance.
What’s the difference between tubeless and tubed tires?
Tubed tires have an inner tube that’s inflated, while tubeless rely on a seal between the tire and the rim, without an inner tube. Tubeless can offer some advantages like the ability to run at lower pressures without the risk of pinch flats and potentially a smoother ride.
Final Words
Understanding and maintaining your bike tires is paramount for both safety and performance. Whether you’re a seasoned cyclist or just starting out, ensuring that your tires are correctly sized, adequately inflated, and in good condition can make a significant difference in your biking experience.
Regular checks and timely replacements not only enhance your ride but also ensure you stay safe on the road. So, gear up, ensure your tires are in top shape, and enjoy the journey ahead!